This central air conditioner maintenance guide helps you get lower cooling bills while staying comfortable in summer.
Introduction
Few routine chores will pay off more handsomely, both in comfort and in dollars saved, than a simple air-conditioner cleaning. The payoff: Summertime comfort and lower cooling bills. You’ll also prolong the life of your air conditioner. Here’s how!
Tools Required
Project step-by-step (7)
How To Clean An Outdoor Air Conditioner Unit
Shutoff power to the air conditioner
Turn off the 240-volt power at the appliance shutoff box. It’s usually outside within sight of the outdoor unit. Some shutoffs simply pull out; others have a handle to pull down or a fuse to remove. If there isn’t one, turn off the power at the circuit breaker at the main panel that controls the outdoor unit.

Remove the outer case and vacuum the fins
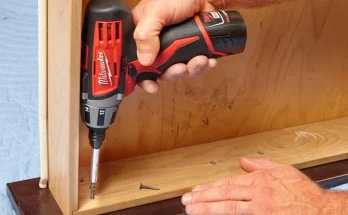
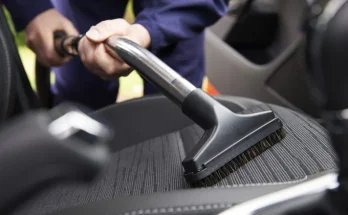
Vacuum the condenser fins with a soft-bristle brush attachment. The metal fins are delicate; avoid bending them. Clear away weeds, grass, and other debris blocking the coil’s airflow. You often have to unscrew a protective metal case and lift it off to get at the air conditioner condenser fins.

Remove the grille
Unscrew the top grille and hold it open. The fan usually comes with it, so support it carefully to avoid stretching the electrical wires and stressing the connections. If the fan doesn’t lift out, avoid hitting it with a direct spray of water when you clean the fins.

Important outside startup guidelines
Turn the power back on and adjust the thermostat so the outdoor unit comes on. Listen for odd noises that might indicate damage or wear. After 10 minutes, pull back the insulation on the insulated pipe (or pipes if you have a heat pump). It should feel cool, about 60 degrees. The other pipe should feel warm, about skin temperature. Call a pro to check the refrigerant level if either doesn’t feel right.
If the 240-volt power to your compressor has been off for more than four hours, don’t start the outdoor unit immediately after cleaning. Instead:
- Move the switch from “Cool” to “Off” at your inside thermostat.
- Switch the 240-volt power back on and let the outdoor unit sit for 24 hours. (This allows a warming element to heat the compressor’s internal lubricant.)
- Switch the thermostat to its cooling mode and set the temperature so the outdoor unit comes on. Then, check the outdoor unit.
If you switch off the air conditioner (at the thermostat) at any time, wait at least five minutes before switching it back on. Once off, the compressor needs time to “decompress.” If you restart it too soon, you’ll stress the motor. Many thermostats have automatic time delays built into the circuitry to protect the compressor from this problem.
Clean the outdoor unit when the temperature is 60 degrees F or higher. Compressors won’t work properly in temperatures below 60 degrees.
How To Clean An Indoor Air Conditioner Unit
Replace a dirty filter
Check the furnace filter and change it if it’s dirty to keep dust from collecting on the evaporator AC coil fins. Turn off the power to the furnace before pulling the filter so the blower doesn’t come on and blow dust throughout the system. Orient the filter according to the instructions printed on it.

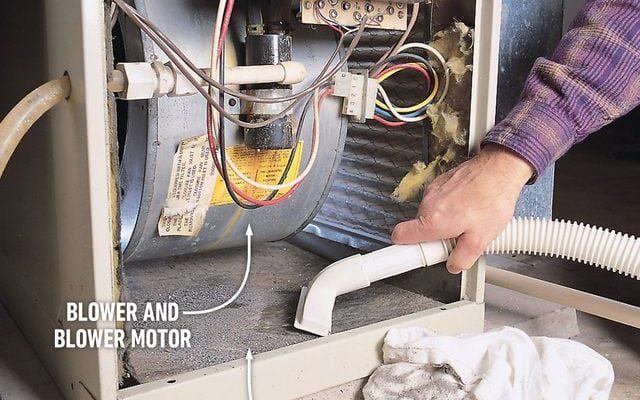
Vacuum the blower compartment
Open the blower compartment (with the power turned off) and lubricate the blower motor’s accessible ports with electric motor oil. Many newer blowers don’t have ports, or if they do, they’re inaccessible. Vacuum up any dust that has accumulated in the compartment.

Clean a clogged drain
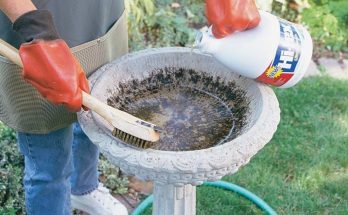
Check the Condensation drain for sludge and algae growth. If it’s partially clogged, pour a bleach solution (1 part bleach to 16 parts water) through the tube. This rigid plastic tube can’t be removed unless you cut it. Flexible tubes should be removed and cleaned. If possible, poke a wire into the drain port to ensure it’s not blocked.


